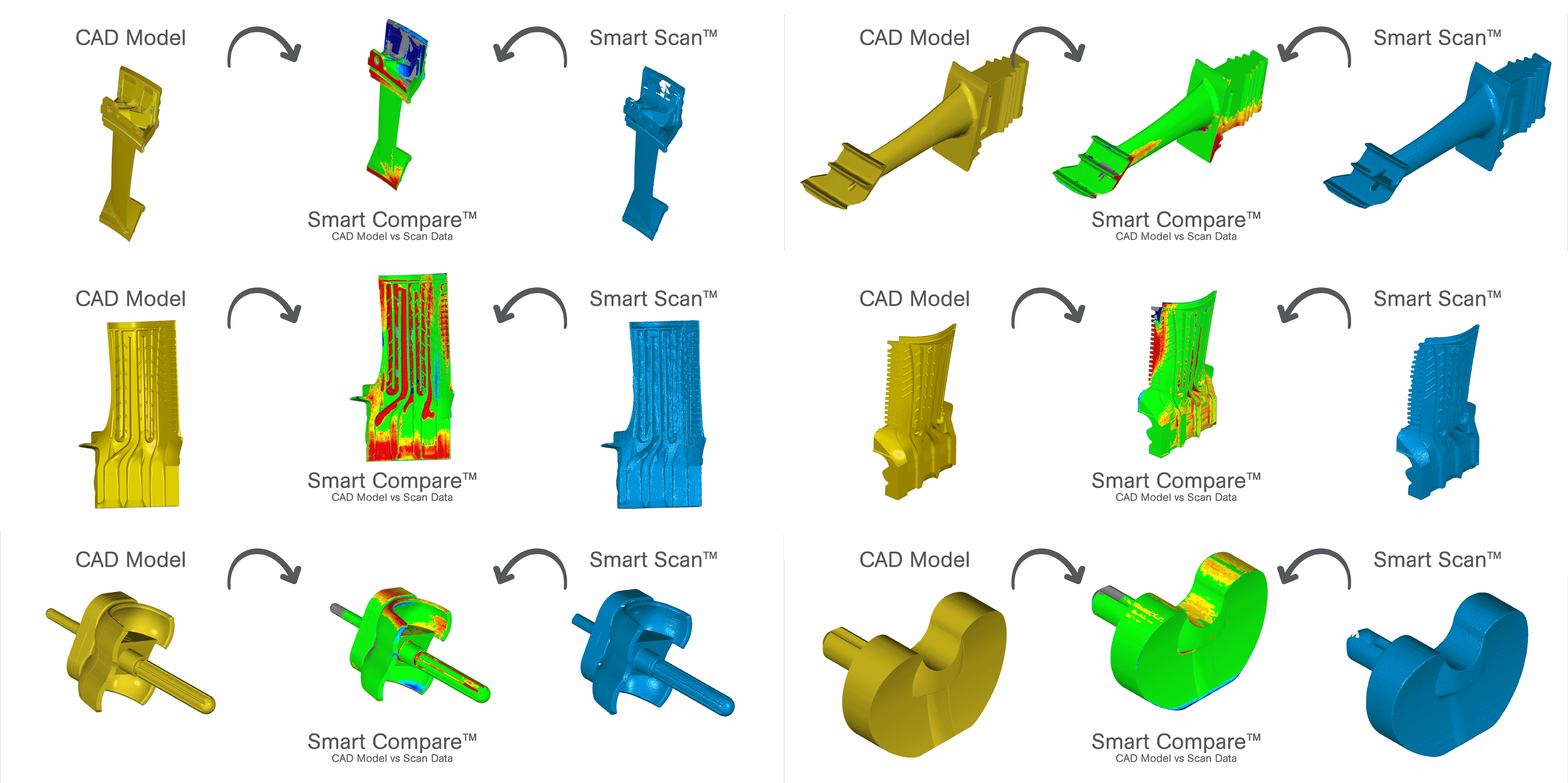
3D Scanning
The purpose of a 3D scanner is usually to create a point cloud of geometric samples on the surface of the subject. These points can then be used to extrapolate the shape of the subject (a process called reconstruction).
3D scanners share several traits with cameras. Like cameras, they have a cone-like field of view, and like cameras, they can only collect information about surfaces that are not obscured. While a camera collects color information about surfaces within its field of view, a 3D scanner collects distance information about surfaces within its field of view. The “picture” produced by a 3D scanner describes the distance to a surface at each point in the picture. This allows the three dimensional position of each point in the picture to be identified.
For most situations, a single scan will not produce a complete model of the subject. Multiple scans, even hundreds, from many different directions are usually required to obtain information about all sides of the subject. These scans have to be brought into a common reference system, a process that is usually called alignment or registration, and then merged to create a complete point cloud model. This whole process, going from the single range map to the whole point cloud, is usually known as the 3D scanning pipeline.
3D Scanning Systems GOM ATOS and Steinbichler/Zeiss Comet lines
- Scanning plan/approach
- Part handling & fixture design – including multi-part
- Frames design & production/build
- Smart Surface Preparation™ (advantages, technique, demonstration)

